Pages

Showing posts with label stained glass. Show all posts

Wednesday, March 18, 2015

Get the lead out.

Between coats of paint, I've been doing a little spring cleaning
and trying to lighten things up in the living room.

I haven't got a green thumb when it comes to keeping houseplants alive, 
but this African Violet has been around for 15 or 20 years.  :o)
(Psssst.  It's not real.)


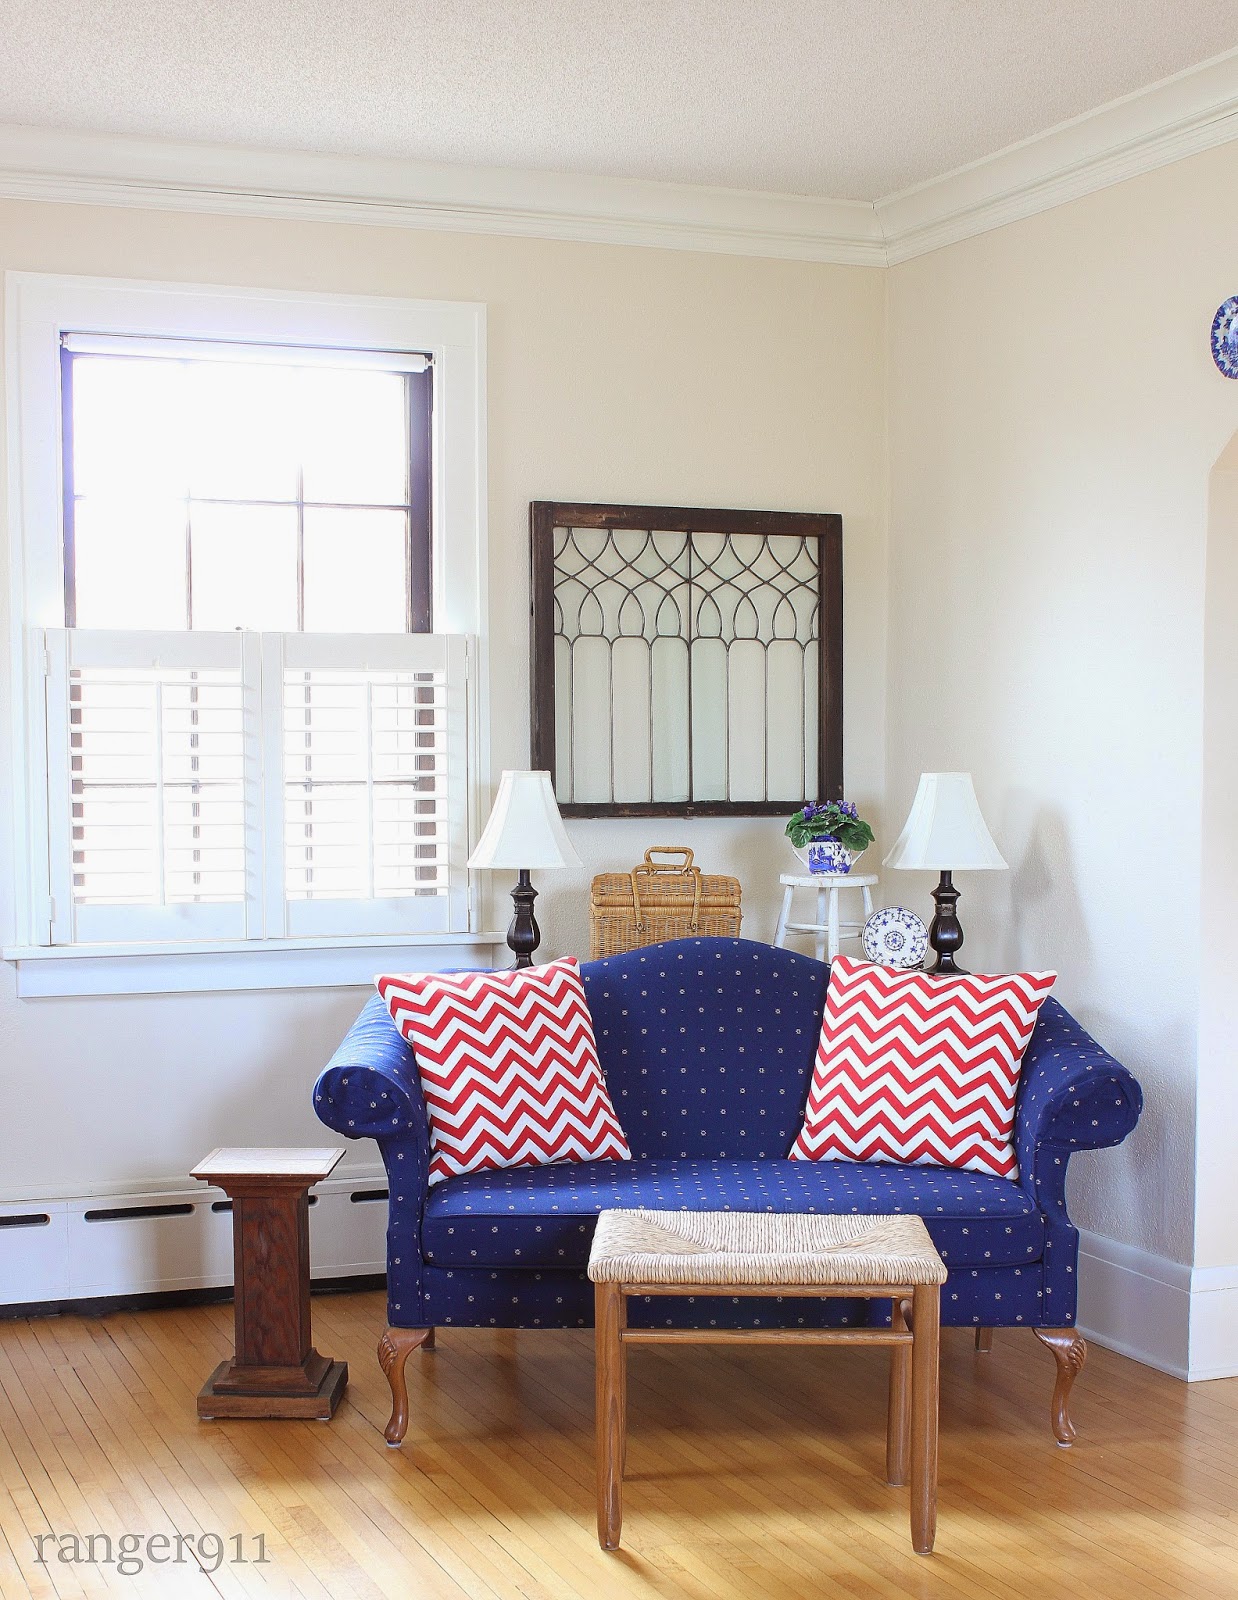
Do you remember this lead glass window I found last summer?
I didn't like the way it blocked the view to the back yard,
so I packed it away until I found a spot to hang it.


 Insert theme song from Jaws here.......
 If ever I had any doubts about painting the walls and trim in this room,
all I have to do is look at this photo.
Dark and gloomy.
 

This window is heavy, but it sure lightens up this corner of the room!


I have no idea why the loveseat looks electric blue in this shot,
but you get the idea.  I found the picnic basket for $2.99 at the thrift shop (great deal),
but I had to replace the vintage blue & white plate I broke whilst rearranging
with another in my stash.  I'm not even going to tell you about my paint spill in the kitchen. 
You win some, you lose some.

By the way, the paint color this indecisive painter chose for the kitchen cabinets is.......
Timid White.  How funny is that?
I think they named the color just for me, and I hope Benny gives me a deal because
 I'll be buying one more quart today.
Cha ching!


For Rita.
  

Enjoy the sunshine and thanks for visiting!
Vickie

*I'm joining the parties at:
Cozy Little House Tweak it Tuesday
Mod Vintage Life Mod Mix Monday
The Essence of Home Share Your Style

Friday, April 26, 2013

Walking on broken glass.


Over 2 years ago, I created the stained glass window ( on my sidebar to the right )
  as a raffle prize for a cancer benefit.

When I finished the window, I packed up my supplies and they remained untouched
 until just recently when I dusted off my glass cutters and grinder
 to make a simple window for the bedroom.
The guest bedroom that may never be finished!


Today I decided it's high time to dust off my blog that's been
sitting idle for over a month and publish a DIY stained glass tutorial.

See for yourself just how easy it is!


1.  Choose your glass.
2.  Find or make a frame.  I used an old thrifted window sash.
3.  Draw up a pattern, make a duplicate copy, and cut the pattern pieces apart from one copy.
4.  Glue the paper pattern pieces onto the glass and score with a glass cutter.
5.  Cut pieces and smooth the edges with a glass grinder.
6.  Wrap glass pieces with copper foil and pin together using the uncut pattern as your guide .
7.  Solder the pieces together.
8.  Blacken solder lines with patina solution.

Ta da!


I took a beginner stained glass class with a group of friends at a local studio about 15 years ago.
I was instantly hooked and bought all the equipment so I could work on projects at home.
Over the years, I made quite a few windows, but most of them were included
 in the purchase agreement when we sold our previous home.

 I compiled a collage below to show you the windows we left behind,
 but you'll have to excuse the photo quality as the images were scanned
 from photos taken with my old 35mm camera.

Top left:  Window for daughter Megan's room.
Top right:  Man cave door.
Middle left:  Main floor bath window.
Middle right:  Two of four kitchen cabinet doors.
Bottom left:  Window for daughter Julie.
Bottom right:  Basement bathroom window.

Below are a few magazine images I found that feature stained glass windows:

Interior wall accented with a vintage gothic window.  The photo on the right is the master
bath on the other side of the window.  Love.
 (Country Living)

I wish I could transport the shower on the left into our home!
(Better homes & Gardens)


Very simple design creates a modern vibe in this room.
(Source unknown)


The vintage window looks right at home in this classic farmhouse bathroom.
(Better Homes & Gardens)


Pretty window reflected in the mirror for twice the impact.
Striking glass colors!
(Design Sponge)

Privacy without the giving up natural light.
(Country Living)


Simple window reflected in the the mirror of the vanity that
I finally painted!


I thought about changing out the hardware and adding sheet music
to the damaged veneer on the drawers, but in the end, I repaired the veneer,
 gave it a coat of paint, and kept the original drawer pulls for a timeless look.
And it didn't cost me a dime.  :)


I have yet to master the art of taking photos of windows
with sunlight coming through.  Don't get me wrong, though, I'm not complaining.
We're enjoying our very first warm, sunshiny day!

To view hundreds of gorgeous antique stained glass windows and doors for sale
visit Oley Valley Antiques.  Or if you'd rather page through books filled with 
images of vintage windows, Schiffer published 3 books that are well worth purchasing.
  I "knocked off" most of my window designs from originals featured in these books.

Antique Stained Glass (Hardcover) ~ Molly Higgins (Author) Cover Art


Warning.
 No matter how careful you are and how well you clean up your mess,
 it's practically guaranteed that unsuspecting family members will step on the
  teeny tiny razor sharp slivers of glass
 left behind when the resident artiste cuts her glass on the laundry room table.
  So, if you decide you'd like to start working with glass, be sure to stock up on band aids first!


Thanks for visiting!
Vickie


*I'm joining the party at:
Common Ground  Be Inspired
Cozy Little House  Tweak it Tuesday
Jann Olson's  Share Your Cup Thursday
Funky Junk Interiors Party Junk
Ivy and Elephants What's it Wednesday


Wednesday, December 19, 2012

Merry & Bright: My Dining Room Reveal

When I realized that once again our girls wouldn't be home for Christmas,
I decided to make good use of the time between Thanksgiving and our belated Christmas celebration to transform at least one of the rooms on our main floor into a space that's
merry and bright.

I chose our dining room.

In a perfect world, I would have repaired the plaster walls first, but since it's
taken us years to repair the foyer, stairwell, upstairs hallway, and guest bedroom plaster
(including the ceilings), I've come to the conclusion that the dining room and
living room walls may not be repaired in my lifetime!

Our house is 90 years old and her plaster is cracked only because some foolish DIYer
removed a small load bearing wall in the basement in the 70's.  Like a gracefully
aging movie star (are there any?), she's going to accept the lines and cracks in her walls.
No botox.  No plastic surgery or collagen injections.  Just a little lot of primer
 and flat wall paint and the transformation is complete!

I painted the formerly depressing green walls with Benjamin Moore contractor grade paint in
 Palace White.  It covered the walls beautifully and camouflaged the imperfections.

The hardest decision was whether or not to paint the original dark walnut
crown molding and windows.  The tall base molding had already been painted over
by a previous owner, so that helped seal the deal for me. 
 Since I'm keeping the dark wood finish on the interior doors in our house,
 I left the window sashes dark and painted the trim and crown molding
with a creamy white gloss paint.   The crown molding throughout the house is designed to hold
picture rail hooks for hanging pictures, so I'm going to order a few and give them a try.
Maybe I won't have to pound quite so many holes in the plaster walls.  :@

While I had the paint can out, I also brightened up this old window
 which was previously finished with a dark stain.  Years ago, I mounted a mirror
 to the back side of the window and screwed wood brackets and fluted molding
on top to hold my favorite plates.  The vintage red & white transferware cups and saucers
are a recent purchase to add a little Christmas cheer to this wall.

The flip side of this large church window has a pretty maple finish, but I'm trying
to limit the number of wood pieces in the room.  The dry sink may get a
coat of paint in the future, but these hands are tired of painting right now!

I didn't want to muck up this post with dreary before pictures,
 but if you'd like to see the gloomy room as it looked a few weeks ago,
you can click on the green dining room photo to the right on my sidebar.

I found the vintage bottle brush wreath and deer ornament (and the cups and saucers) at
Annabella's in Bovey, MN.  Since the deer is missing a foot and kept toppling over,
I wired him to the wreath where he seems quite content sniffing out dust mites.

If you're ever in that neck of the woods, be sure to make the shop a destination!
  Two main street buildings are filled with wonderful old  junk and a charming cafe where they serve
regional favorites like sarmas.  Last year I was even serenaded by a polka band while I shopped! 
 She's too fat for me.  Too, too fat for me.......

Since I seem to be going with a candy cane color scheme in the room,
I set my Iittala ( ee' ta la , Finnish glass manufacturer)  candlesticks topped by
 red velvet ornaments and an old white pitcher on top of the secretary.


The kitschy deer thing-a-ma-jig is resting on top of my red & white kitchen scale.
 A vintage pop bottle holds a flame shaped ornament like a candle. 
(We call it pop in these parts, but you probably call it soda or coke.)

The vintage silver bottle brush tree next to the bottle
 was only 25 cents at an estate sale a few years ago.

I kept the mantel pretty simple.
(That's part of a living room window reflected in the glass.)


I've got lots of vintage ornaments that I've collected over the years......


and plenty of old Santas in every shape and size!


I had some fun setting up a snowy scene.


I stitched up a table runner from red & white ticking.

The rug has been rolled up and the window treatments, too.
The mismatched pressed back wood chairs will be painted
before they make it back into the room. 

A simple arrangement of old glass ornaments is the centerpiece.


Can you think of a better way to fill the big black firebox than with a small red piano?!
( I borrowed the idea from the very clever Jenny of Everyday is a Holiday blog.)


To the left of the dry sink is a recently installed antique, unsightly and leaky radiator, a fact I discovered just last night!!   I'll be calling the plumber back pronto to do the job right! 

 The radiator is topped by a double-hung window which received the same paint finish
 as the other two.  I've got a craftsman style rad cover which needs a few adjustments
 and a coat of paint before it's installed. 

So, that's what I've been up to while the rest of you have been busy
baking, and shopping and getting ready for your holiday visitors. 

 Now, I know I said
our girls won't be here for Christmas,
 but who knows.......


A special delivery could change everything!

Merry Christmas!
Vickie

*I'm joining the holiday parties at:
Savvy Southern Style Wow us Wednesday
Cedarhill Ranch Cowgirl Up
Funky Junk Interiors Saturday Nite Special

Monday, April 16, 2012

Moving Up

Excuse me, ma'am, you want us to put it
where?

The theme for this week's Saturday Nite Special at Funky Junk Interiors is
repurposed furniture, and here's my entry.


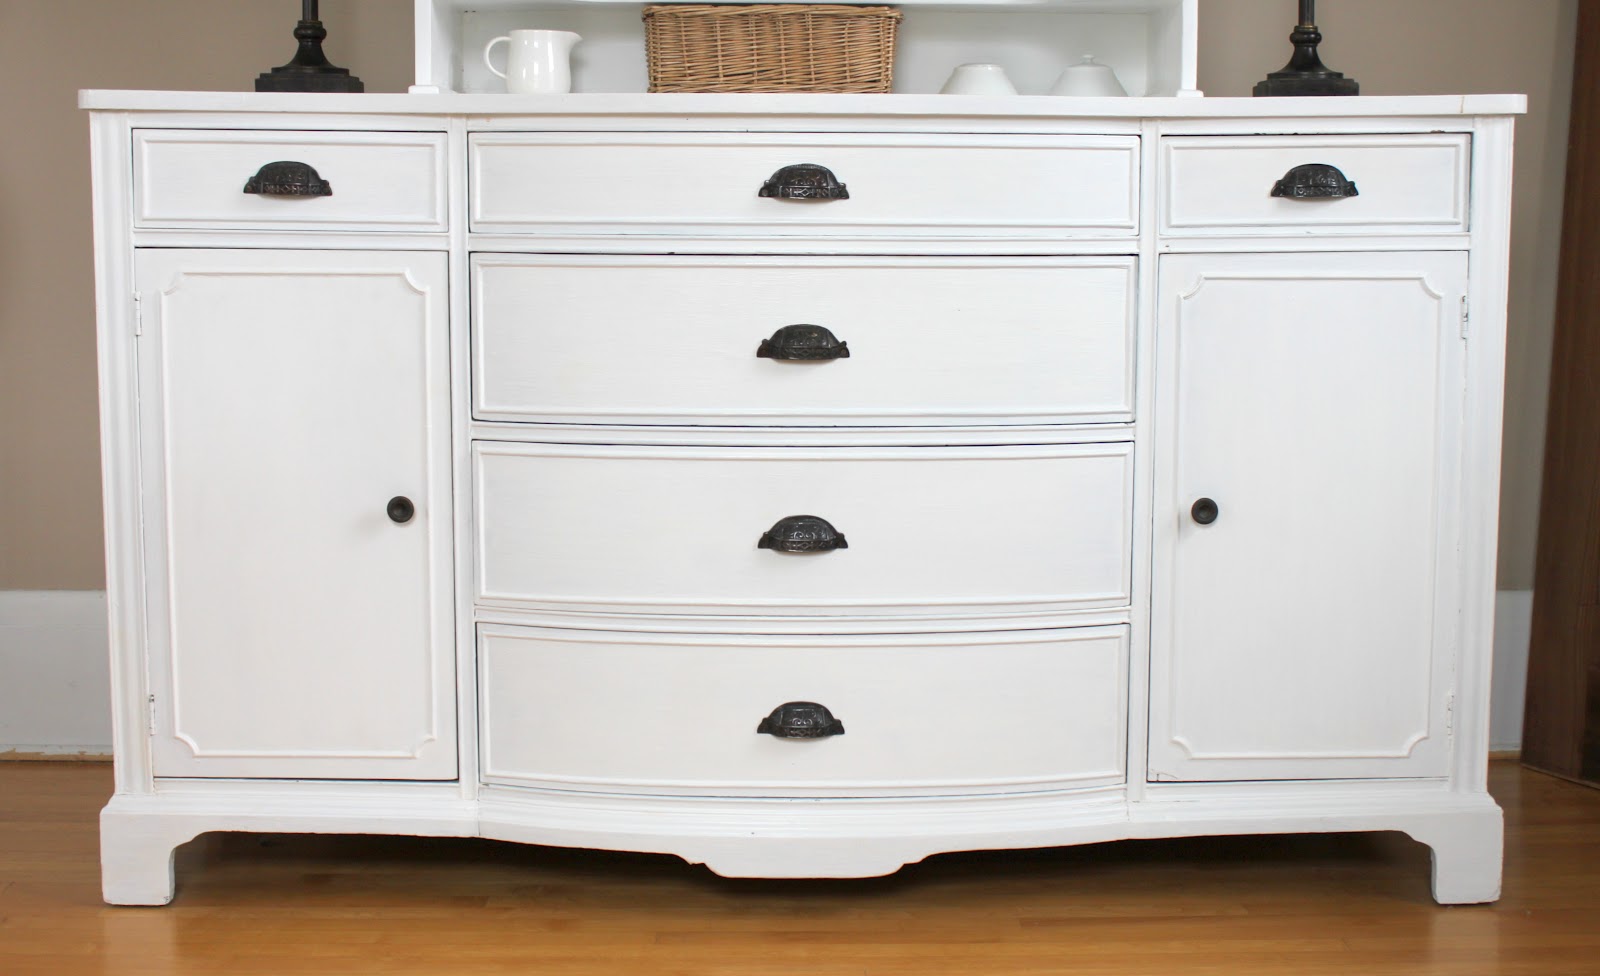
It started out as your basic mass produced buffet from, I don't know, the 40's?  It was passed around our family until it landed in the basement of our previous house where it held art supplies and games.  About 10 years ago, I painted it white and added bin pulls to match our kitchen hardware.

Purchased from Van Dyke's Restorers.

We then moved the buffet upstairs to our walk-in pantry to house canned goods, kitchen linens, and small kitchen appliances.  I removed a 70's faux wood shelving system from the wall above it and replaced the shelving with this top from an old kitchen cupboard.


When I bought this cupboard, it was already stripped of its original finish
and missing its glass door inserts and hardware.


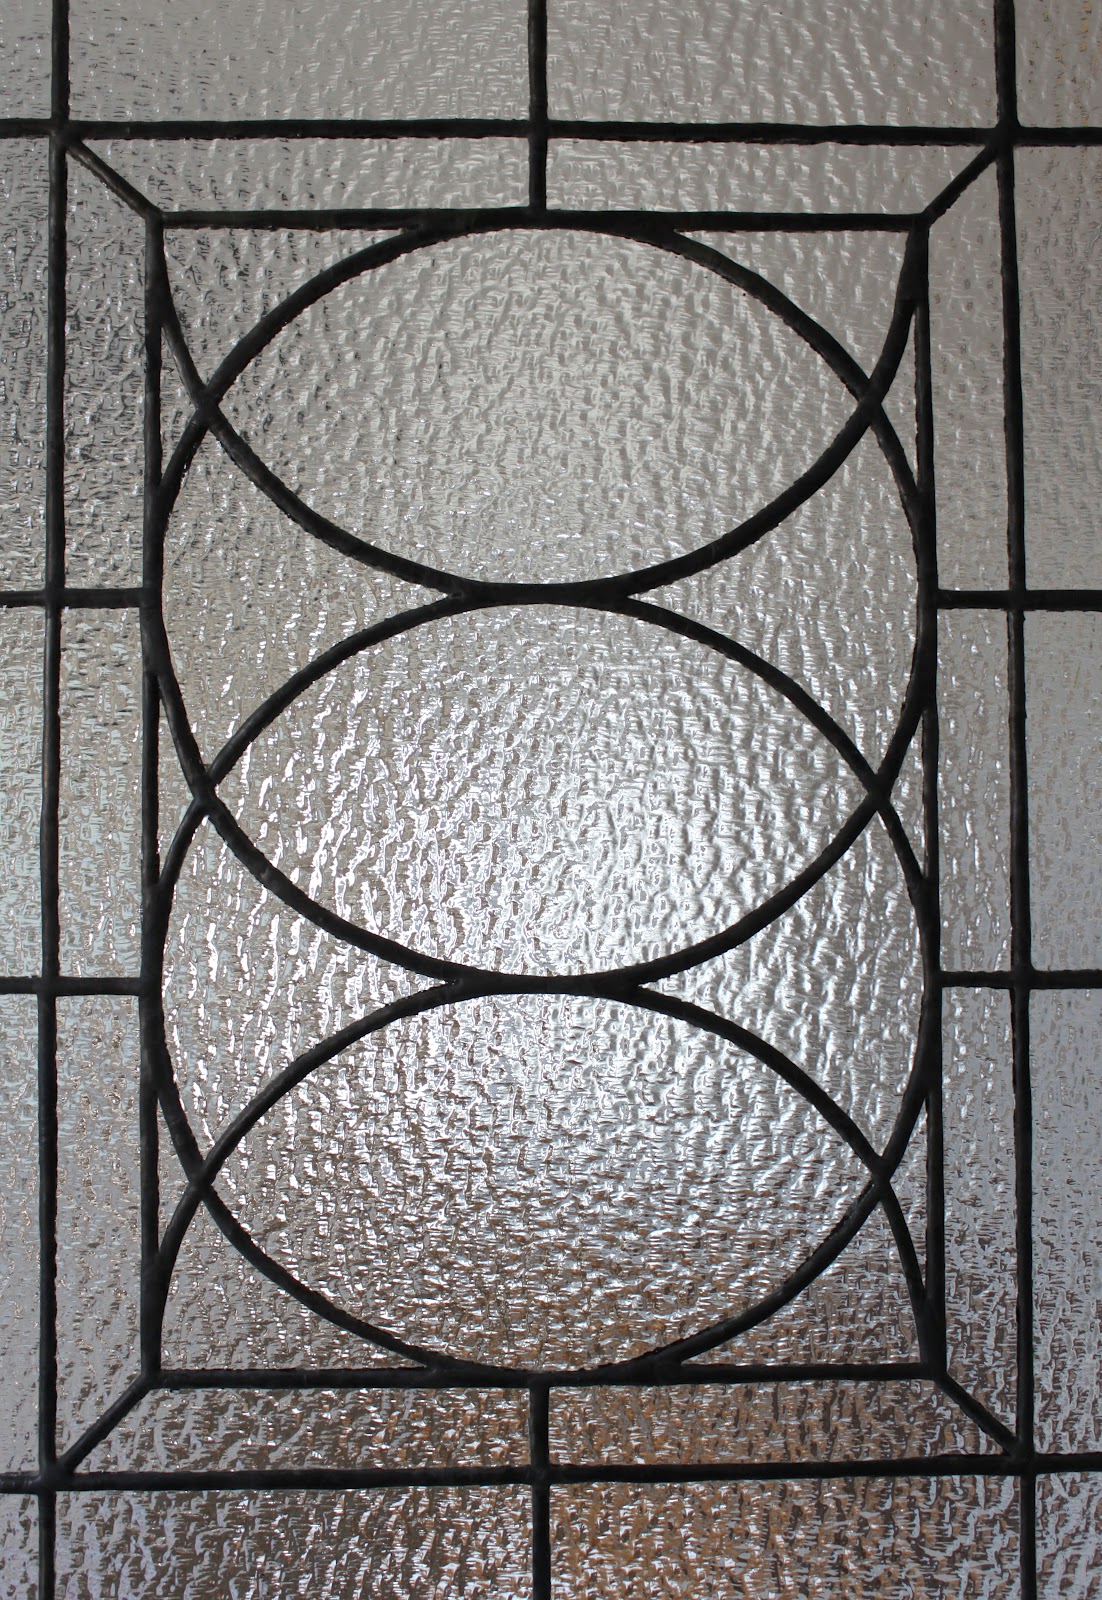
 I made leaded glass panels with textured glass to hide the contents of the cupboard
 and added a new latch, also from Van Dyke's.

When we moved to our current home, there wasn't a spot for this piece on the main floor,
 but I really didn't want to get rid of it.  So when the movers asked where to put it,
 I told them to bring it upstairs to the master bedroom. 

Most of my clocks fit on this shelf.


Forgotten treasures fill the small drawers.


There's room for 2 lamps on top......


and plenty of storage space for clothes and extra bedding.

There's even a place of honor way up high for you-know-who.


So there you have it.  My dining room buffet and kitchen cupboard
repurposed to the master bedroom.

Thanks for stopping by,
Vickie

Get great ideas at:
The Farmhouse Porch Cowgirl Up
Savvy Southern Style Wow Us Wednesdays
Miss Mustard Seed Furniture Feature Friday
Funky Junk Interiors Saturday Nite Special
The Vintage Farmhouse Creative Things Thursday
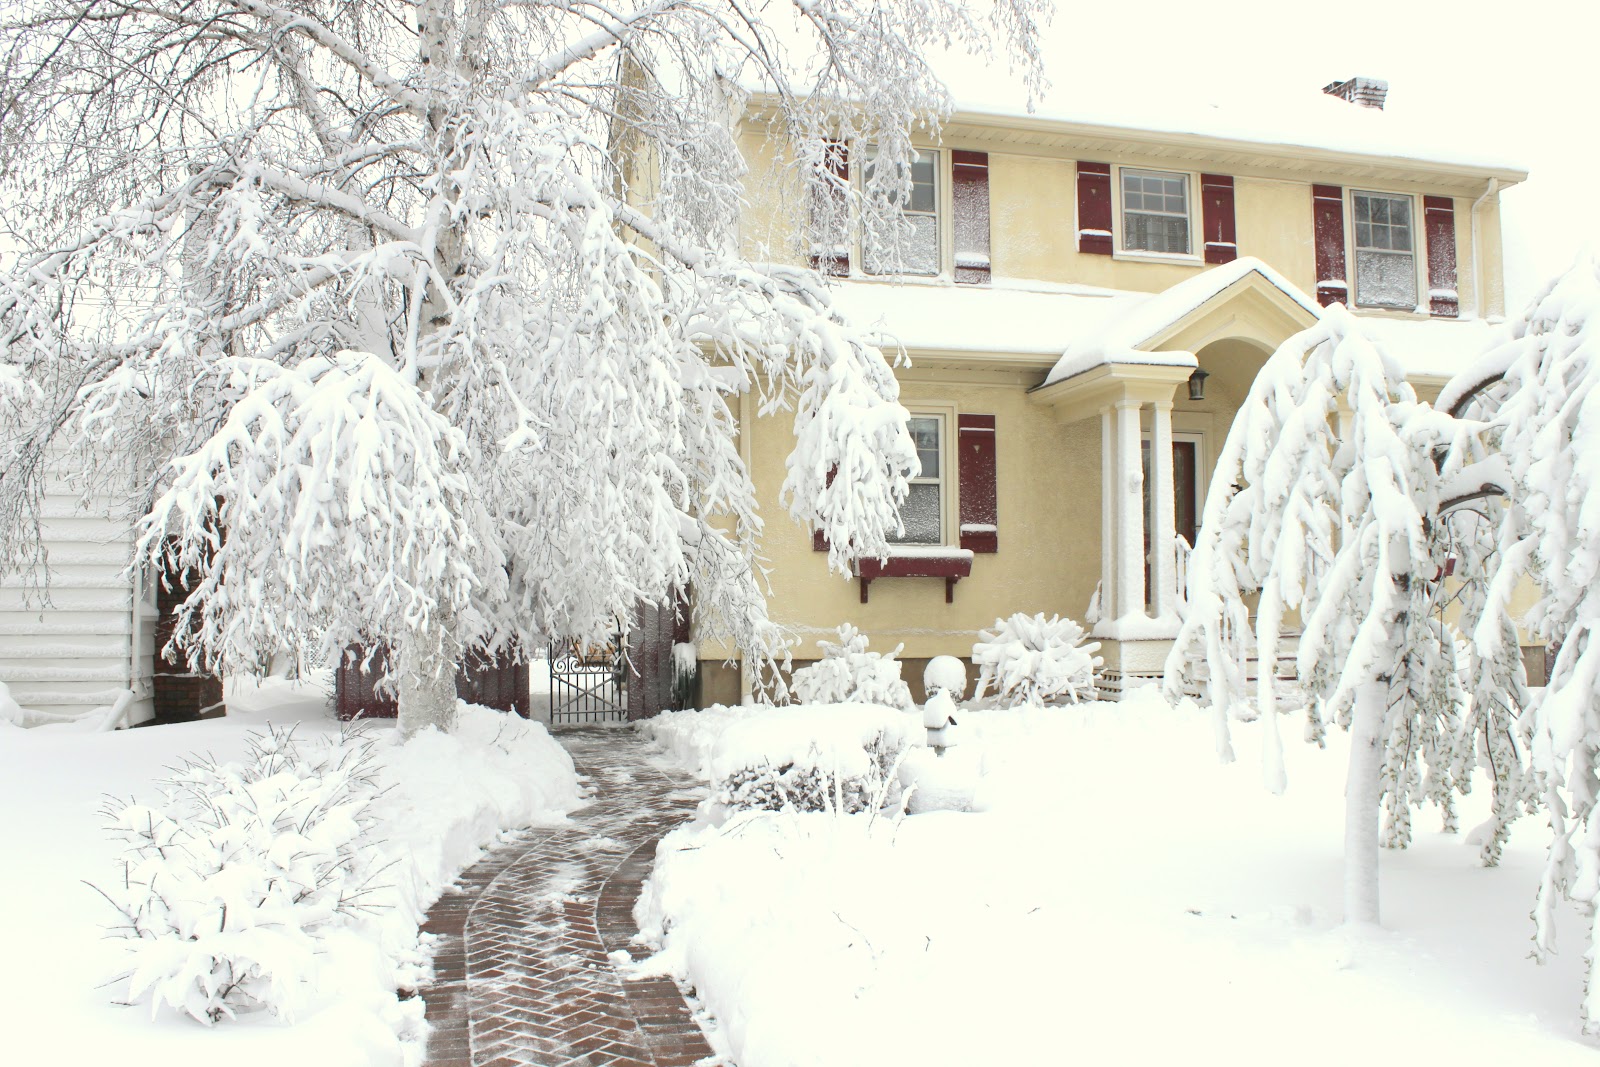
*Do you remember the snow day I was hoping for this winter?
I got my wish today.


Spring in northern Minnesota.  Gotta love it!
Related Posts Plugin for WordPress, Blogger...